Author: Nadia Hlebowitsh (Spanish & English Literary Translator)
Perhaps the scariest part of a CAT tool is getting started. If you’re ready to make the most of Termsoup, we’ve put together this onboarding post to help you out. Here, you’ll find the top nine features on Termsoup and how to use them.
Remember that every CAT tool has a learning curve when you first use it. Given Termsoup’s user-friendly design and streamlined features, we hope you’ll leap over the CAT learning curve and get the benefits of Termsoup right away.
Let’s jump in!
1. Highlight for query
This feature is clutch when you start translating in Termsoup. To get dictionary results for terms in the source text, simply highlight the word and a results box will pop up on the right-hand side:
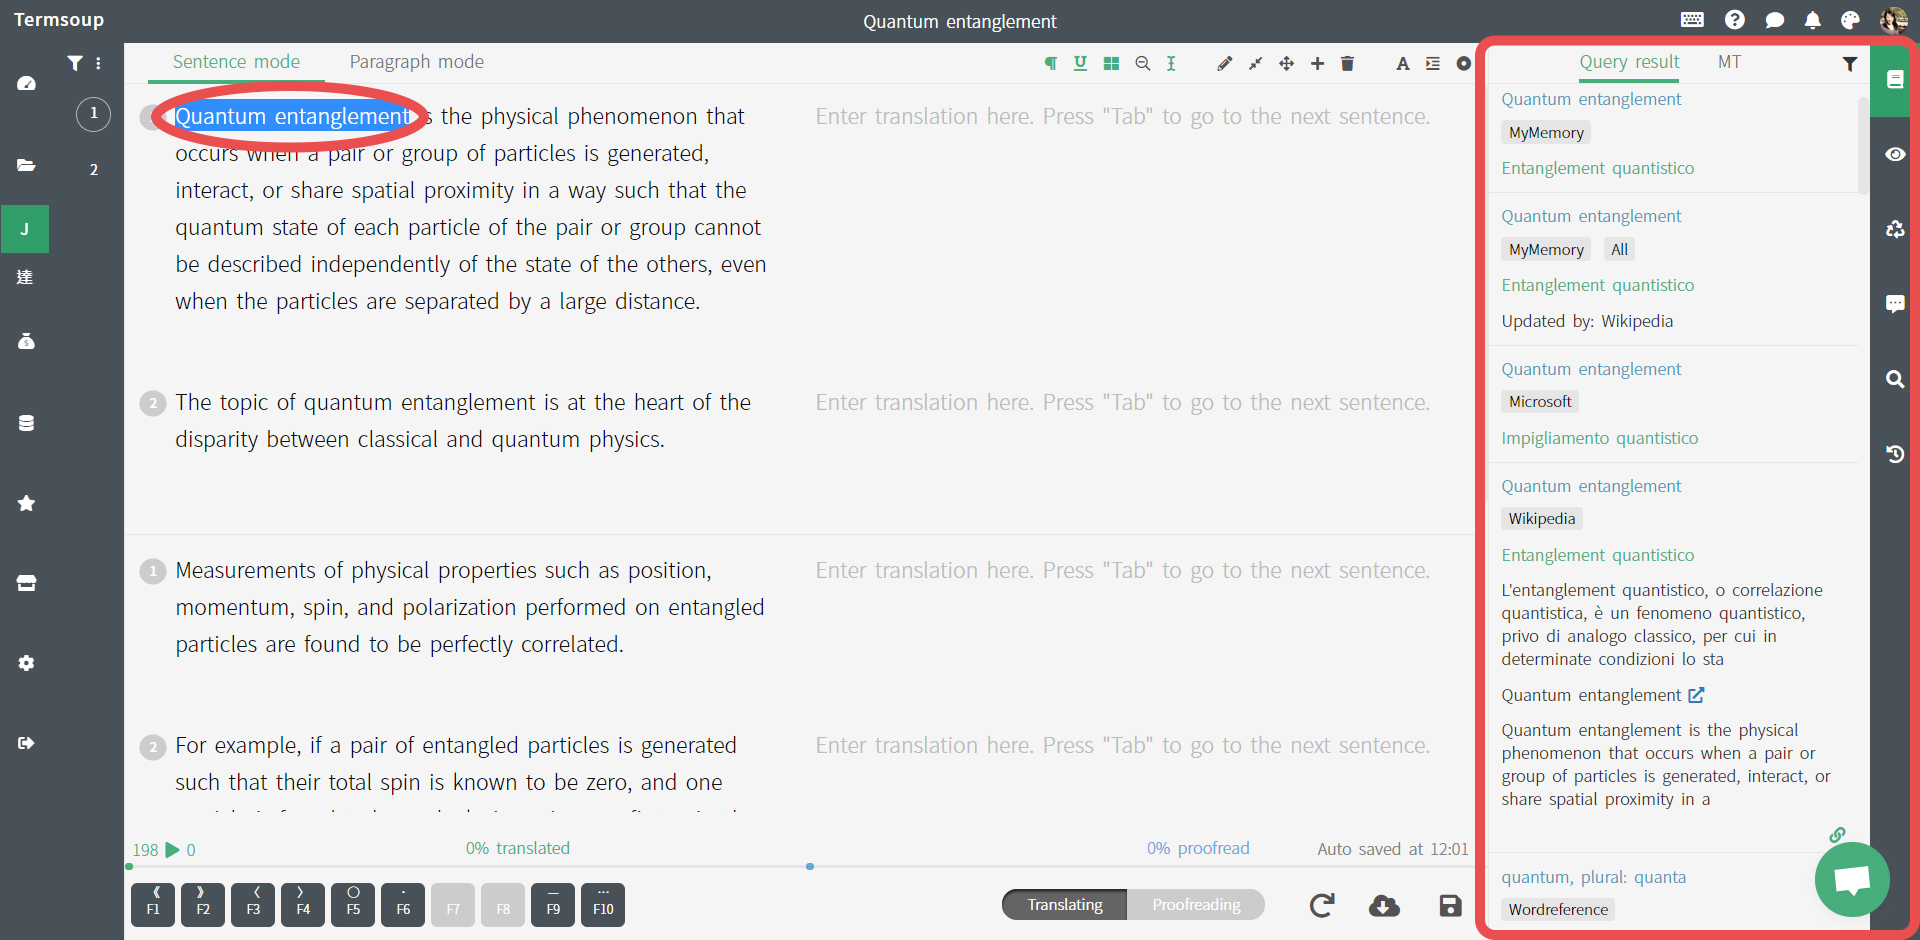
Click on the word you want to use (words in green) without typing it on your own!
2. Look up full results on external resources
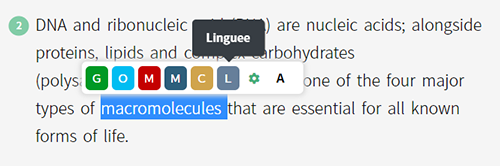
There may be cases when you want to see the full dictionary results for your query. No problem! All you have to do is right-click on the source term and a bar will appear with your preferred tools. Click on the tool you want and a separate window will open with the full search results.
For example, if you want to see the full results for the word “macromolecules” on Linguee, simply click on the “Linguee” square and you’ll get a new tab with the full result:
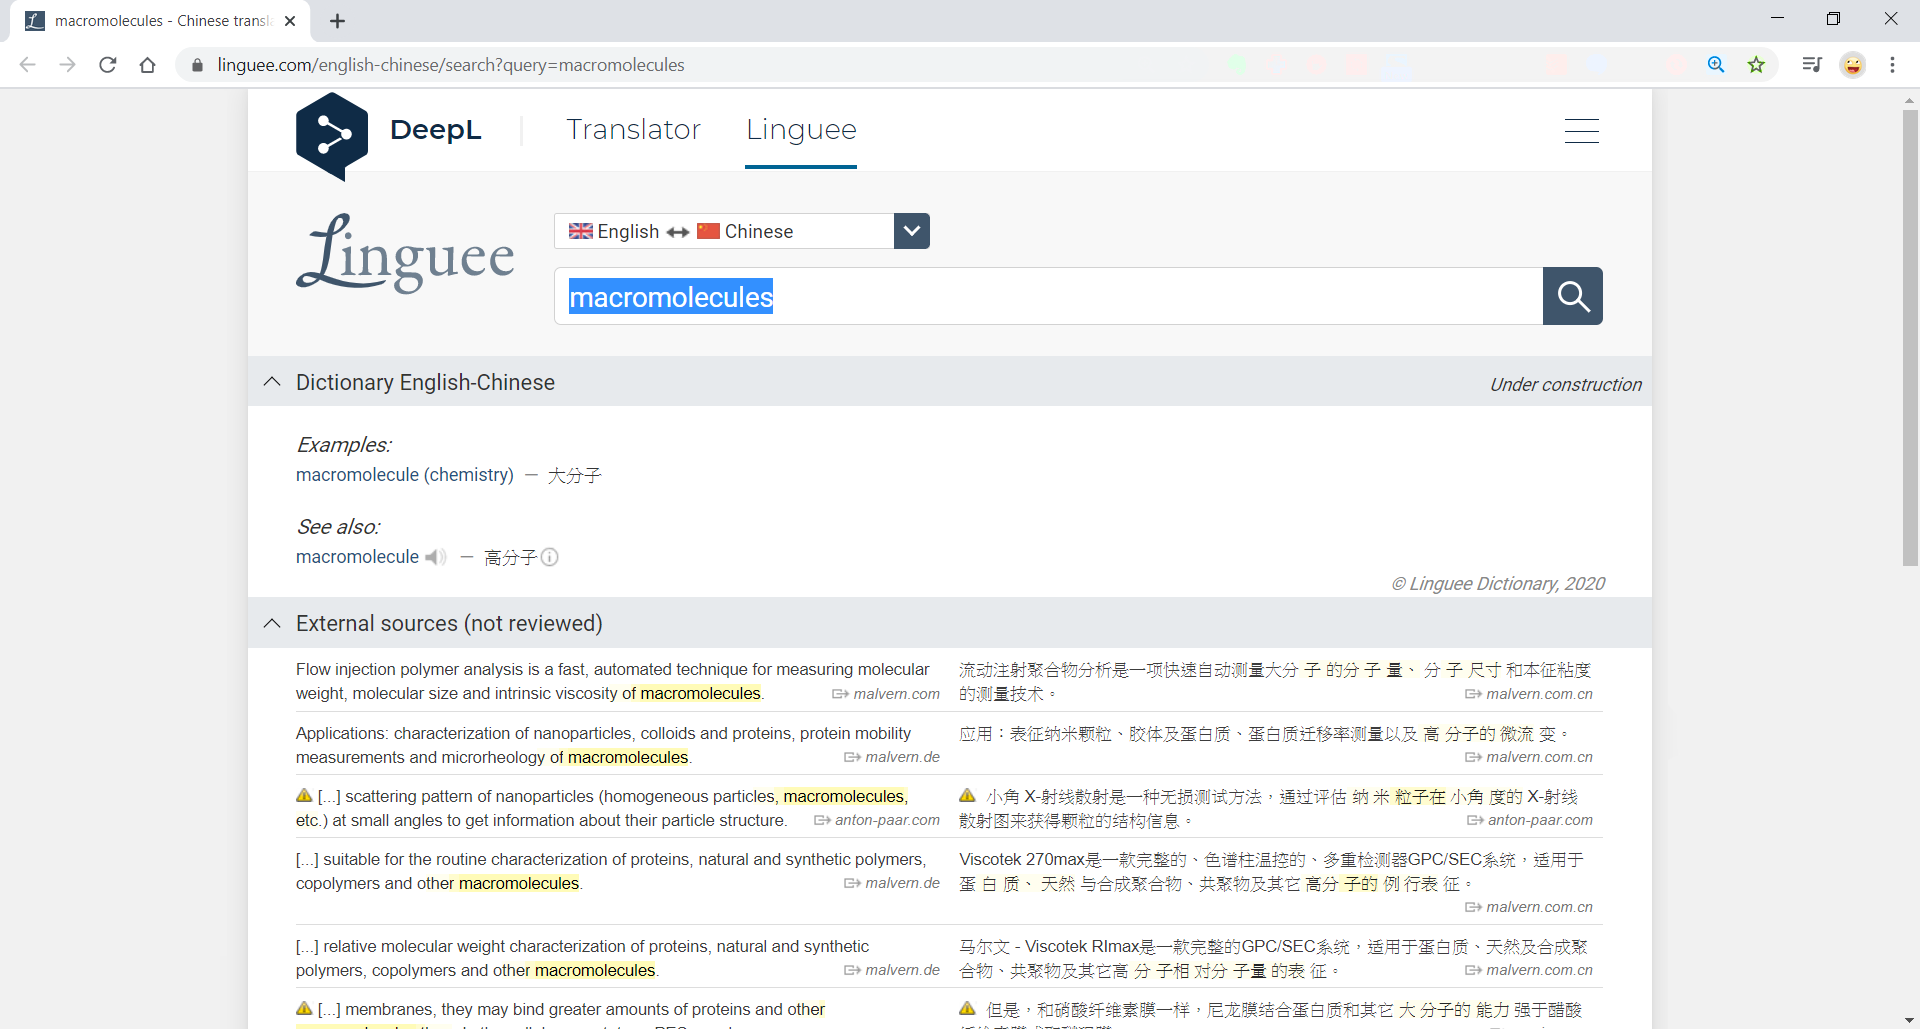
Depending on your language pair, different top query results will appear. You can even configure which dictionaries you prefer by right clicking the source term and clicking the settings wheel. Here, you can check or uncheck top results. By having your favorite tools at your fingertips, your translation work will go even faster!
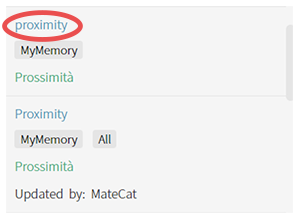
3. Add term to glossary
As you translate on the Termsoup platform, you can add a key term to your glossary by clicking on the word you look up on the results box on the right-hand side. You won’t have to fill out a long form. Termsoup’s glossary card should take five seconds or less to complete!
4. Use quick compose for added terms
Termsoup also helps you out with a quick compose feature so that you can use your added terms automatically.
After you add key terms to your glossary, Termsoup will suggest your saved translations. Basically, it will auto-suggest your glossary terms when the term appears in the source or target text.
How exactly does this work? Place your cursor in the text area and start typing the first letter/character of the added term (whether source or target). Right away, you’ll see the complete term translation when the source text contains it.
If you want to confirm this term to insert it, just tap the right key on your keyboard.
Basically, this is a quick-and-easy way to keep the translation consistent! You won’t have to toggle between a dictionary or your personal Excel file.
5. Switch between sentence and paragraph modes
Termsoup is unique in that it offers both sentence and paragraph modes if you upload your source texts while using the dragging and dropping method. When you’re translating in Termsoup, you can toggle between working a micro-environment (sentence mode) or seeing the greater text flow (paragraph mode).
It’s easy enough to switch between these modes! Just go to the top toolbar and click on “Sentence mode” or “Paragraph mode.”

Remember that Termsoup simultaneously saves your work, so both modes will be updated with your latest edits. Also, the layout maintains the formatting, so the text and image stay in an easy-to-translate layout.
To get the benefits of using paragraph mode, you’ll need to upload your source file by dragging and dropping, or by copy-pasting.
6. Insert Translation Memory (TM) and Machine Translation (MT)
Another great aspect of Termsoup is its Translation Memory (TM) and Machine Translation (MT) features. With Translation Memory, Termsoup pulls from your glossary and past work to suggest terms. In the case of Machine Translation, you can get integrated results from your favorite MT tool.
To prepare a text with Translation Memory or Machine Translation, you can use the import function to catch small details and work on the translation from there. Just click on the insert button on the upper toolbar.
Once you’ve clicked this, you’ll see the “Insert resource” screen, where you can choose a resource type. Click on the drop-down menu and select the resource you want, whether Translation Memory or Machine Translation.
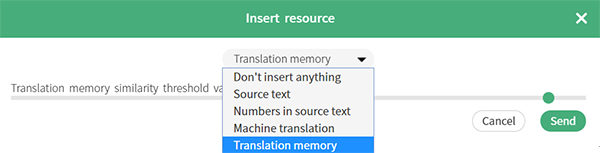
Next click “Send” and your target text will be updated with either the Translation Memory or the Machine Translation.
If you want to use Machine Translation for a specific word or sentence, you can also highlight the section in the source text and go to the right-hand pop-up. Here, where you found query results, you’ll also see a tab for MT. Click on it and you’ll get the specific MT result for that section.
7. Import offline glossary/translation memory
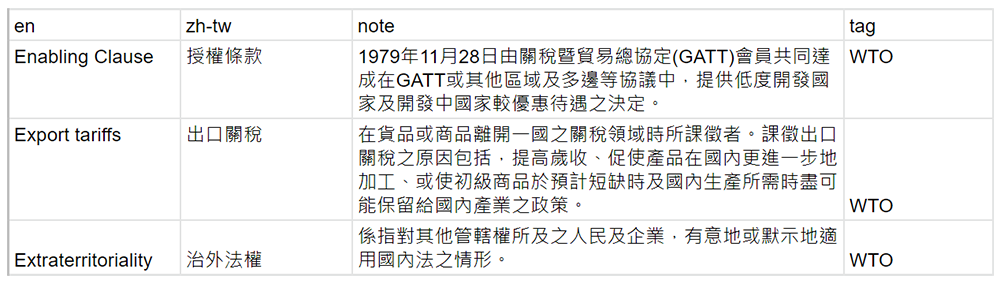
Let’s say you’ve made your own personal glossary in a Word or Excel document. You can import your glossary with an Excel file, TMX file or copy-paste, so that Termsoup can incorporate your glossary on the platform.
First you should organize your document into the right format. The first column should have the source language code, the second the target language code, the third for any notes, and the forth for the fileds which terms belong to.
Don’t worry, you can look up your language code in Termsoup! After your glossary is organized, you can import or copy-paste. To get there, click on the left-hand menu and click on Glossaries.
Once there, click Glossaries again. Next, you should see a screen that looks like this:
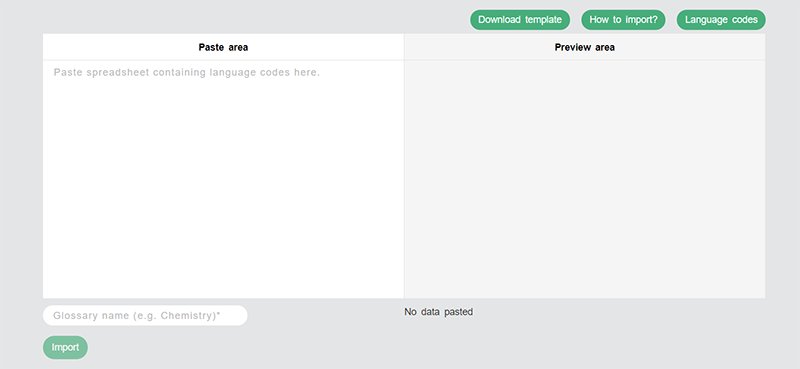
Here’s where you can download an Excel template, look up your language codes and then copy-paste or import the file. Easy-peasy!
8. Collaborate with coworkers or clients
Termsoup reflects the same functionality of a Google doc, with translation-specific sharing options that you can use with coworkers or clients. If you can share a Google doc, you already know how to share a Termsoup doc.
To share, just click on the person icon and add the collaborator. No email required - just type in the Termsoup username.
In addition, you can collaborate in the document itself, by simultaneously making edits. You can also add comments, all in real time.
You can also share your glossary with coworkers. This makes it easier to share terms and maintain consistent translations. For example, if you have a medical glossary to share, you can go to the Glossary section from the left-hand menu and click on Share.
Here you can add email addresses or usernames to share glossaries within projects.
9. Track your bookkeeping
If you want to track bookkeeping for your translation clients, you can also do that when you upload or translate a file.
When you upload a file, simply click on the money bag icon on the right-hand menu and you can fill in information about the project, including client, due date, word count, rate, etc.
You can also add this information when translating by clicking the money bag icon on the top toolbar.
As you can see, using a CAT tool isn’t as hard as you thought! Now that you know how to use these top nine features, you’re ready to get started on your first project in Termsoup. Good luck!